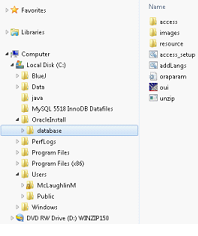
- Download the Oracle Database 11g Release 2 zip files into a folder and give ‘Extract here’. Thus a database folder is created. Within that folder, double click the oui icon to launch (start) the Oracle Universal Installer. It’ll open a command prompt that may dwell on the screen for a few seconds up to maybe fifteen seconds.
- Uncheck the box if you don’t want updates via Oracle Support Services. Click theNext button to continue.
- Check the radio button Create and configure a database. Click the Next button to continue.
- Check the radio button Desktop Class. Click the Next button to continue.
- We provide all the credentials and change the Character Set drop down to Unicode. Then, enter a password twice. Oracle requires that you use at least one capital letter and one number in a 6 character or more long password. Click the Next button to continue.
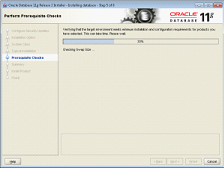
- The next screen is a progress bar that checks for prerequisites.
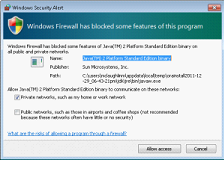
- The first popup screen requires you to authorize the Java runtime to call home. You should click the Allow Access button to proceed.
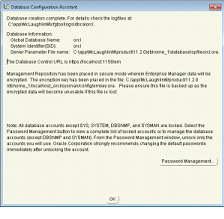
- click the OK button to proceed.
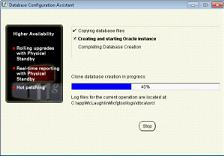
- The next dialog shows you that the network and database instances are configured.
- The installation is completed by clicking the Close button to complete the installation.






0 comments:
Post a Comment